
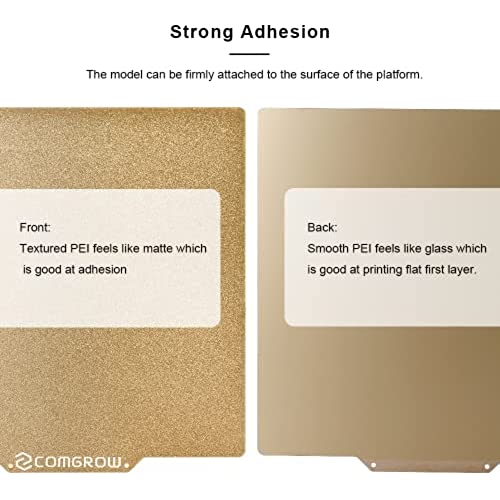
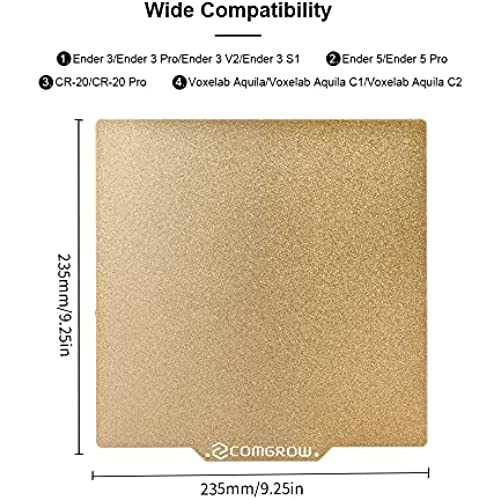
Comgrow Textured/Smooth Double Sided PEI Sheet 235mmx235mm for Creality Ender 3/Ender 3 Pro/Ender 3 V2/Ender 3 S1/Ender 3 S1 Pro/Ender 3 Neo/Ender 3 V2 Neo/Voxelab Aquila 3D Printer
-

Talyrath
> 24 hourMy hot end melted multiple hole in the plastic surface printing PLA at 210C. The first layer of my first print, and the surface was ruined. PEI is supposed to melt around 360C, so there’s no way the plastic on this is PEI.
-
Thomas
> 24 hourExcellent addition to the ender 3 V2, the glass bed it shipped with last its stick after maybe half a dozen prints, have not had a single issue with bed adhesion since switching to this PEI
-
Jule Dü
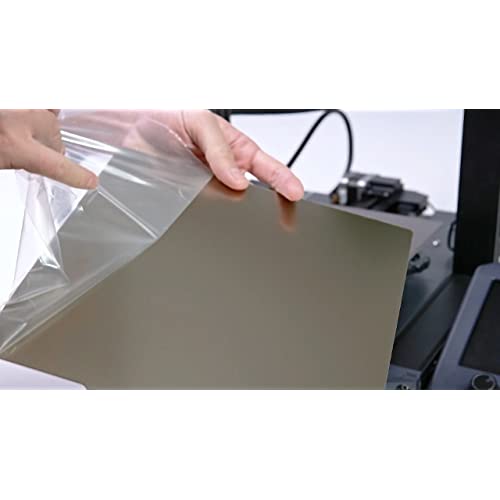
> 24 hourIch hab dieses Druckbett bestellt, da das original Druckbett meines Ender 3 v2 durch falsche Handhabung ziemlich runter gerockt war. Als ich nach Ersatz und eventuellen Verbesserungen geschaut habe, habe ich dann schnell PEI Sheets entdeckt und dieses hier dann bestellt. Die Montage war schnell erledigt. Glasplatte runter, den Bettunterbau mit Alkohol gereinigt und dann die Magnetfolie sauber aufgeklebt. Das ging Problemlos und ist extrem Passgenau. Danach einfach die PEI Sheet Platte drauf und sogar mit kaltem Bett manuell gelevelt mit dem üblichen Papier. Danach hab ich den Leveltest gedruckt, der in den Bildern zu sehen ist. Der sah sehr vernünftig aus, also direkt das Benchy hinterher. Die Haftung hat ohne Brim oder sonstige Spielereien gepasst, kein Warping oder andere fiese Dinge. Ein sauberer erster Layer wie im Bilderbuch und der gesamte Druck lief problemlos. Nach dem Druck einfach die Platte abgenommen, kurz gebogen und das Benchy ließ sich extrem leicht einfach mit zwei Fingern abnehmen. Genau so stell ich mir ein perfektes Druckbett vor. Tests mit größeren Prints und Warping Tests stehen noch aus, aber so macht das bisher nen hervorragenden Eindruck. Achja - kurz noch zu der Bewertung unter mir von Seriöser Rezensent: Wenn man die Schutzfolie UND die PEI Folie (die eigentliche Beschichtung) abzieht, kann das natürlich nichts werden. Eine schlechte Bewertung abgeben, weil man selbst das Produkt mutwillig zerstört finde ich ja unter aller Kanone.
-
TJ Kline
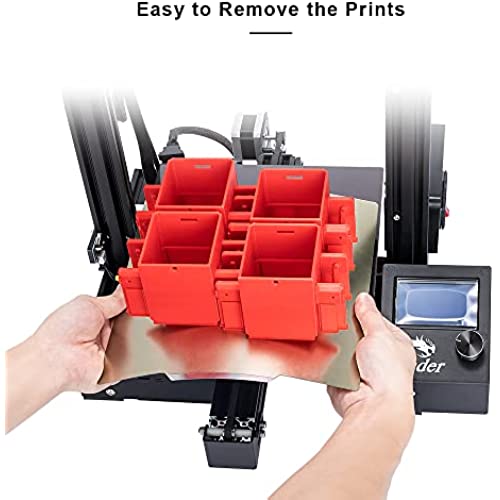
> 24 hourAfter using and nearly falling in love with my PEI sheet on a glass bed, I tried this only to find that my only woe with the PEI sheet has been fixed. Being able to pull the sheet off and bend off the prints makes this a winner. Highly recommended!
-
Casey
> 24 hourIf you can suffer through the trial and error of getting the right temps and bed leveling the results are great and consistent time after time afterwards. Ive found that having my bed temperature at an intense temperature (relatively speaking) of 80 C it begins to stick, PLA and PETG seem to stick to the bed at this temp. If I hadnt known this fact I would probably thought this was defective because literally nothing would stick before that.
-
Lee Belback
> 24 hourIve been using a glass bed on my printer. It has good adhesion, but it is really hard to get things off it. A couple weeks back I tried a flexible magnetic bed and it was a disaster. I couldnt get things off even with a razor blade and went back to glass. So I was hesitant to try again, but people praise PEI and now I can see why. Installation was pretty easy, just took my time (with the bed cold) on one corner and slowly inched forward removing the backing. I didnt have any noticeable bubbles, but I kept smoothing it over and over to make it nice and flat. I then heated the bed to 60 Celsius and that seemed to make to make it even more smooth. Took some time (bltouch) leveling and adjusting the z-offset and got it pretty close. I choose this Star Destroyer print because it was a tall quick test for bed adhesion (and later removal). Had to adjust the z-offset a little more as it started to print the first couple of layers, so the print could have been a little better here. When finished I took the PEI sheet off and flexed it on each side, like I was getting ice cubes out of the tray. It even makes a similar crack. The pieces came right off. I was amazed it was so easy! There was some plastic on the bed here and there, but no razor blade needed. The plastic came right off with a finger nail. I cleaned up the print a little and used a glue stick to temporarily hold the two pieces for the picture. Im impressed this was so easy and highly recommend this build surface!
-
Cory
> 24 hourIve had two now. The first I messed up and I thought it was my fault. The second know lets me understand these things are pretty fragile. They give you a GREAT surface and things do stick well. But I cant recommend it.
-
Kevin
> 24 hourGekauft wurde die Platte für meinen Sapphire Pro. Sie passt perfekt auf dem Drucker. Da es sich hier um eine glatte Platte handelt, habe ich zusätzlich noch auf die andere Seite eine Druckfolie geklebt. In verbindung damit habe ich eine Bombastisch gute Haftung wo man kaum die Drucker von runter bekommt, erst durch das Biegen lösen sich die drucke
-
Reid S.
> 24 hourWas so happy with this at the start but then had nothing but issues with it and my printer. Finally ripped it off and went back to the glass bed. Already 100 times better.
-
Mark O.
> 24 hourI purchased this because sometimes getting a print off the glass bed of my Voxelab Aquila printer was a pain. It arrived quickly, was packaged fantastic and installation was a breeze. Prints stick remarkably and pop right off with a simple flex of the magnetic bed. Im so happy I purchased this.
