
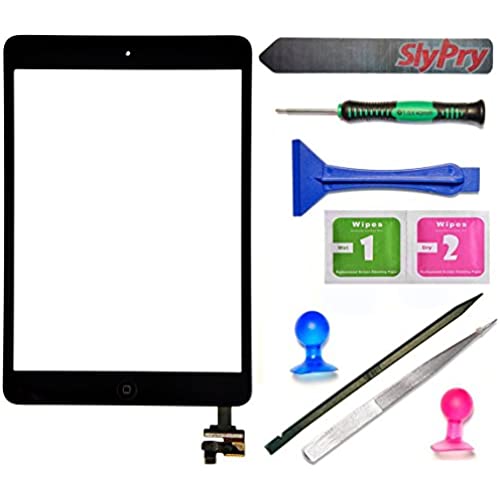
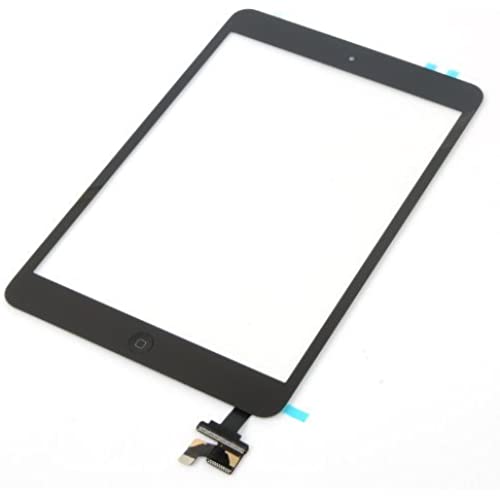
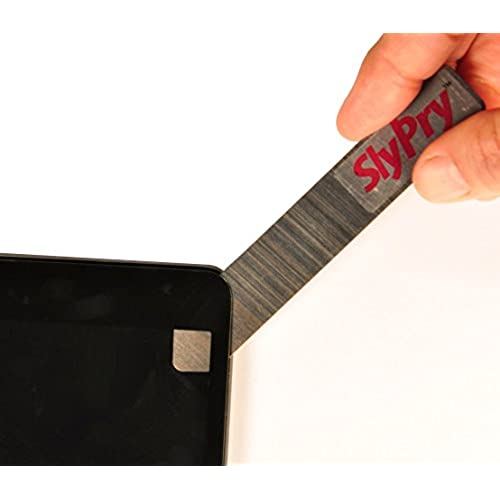
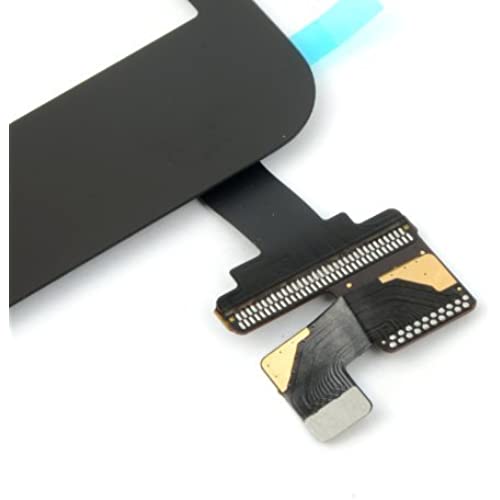
Prokit for Black iPad Mini Touch Screen Digitizer Complete Assembly with IC Chip & Home Button Replacement with SlyPry Opening Tool kit
-

GSPhotonics
> 3 dayWas shipped fast and packed well. The tools included were useful. At the end after I replaced LCD and screen on my iPad Mini everything works, so mission accomplished. However I took away two stars because the installation was not easy due to complete lack of instructions or descriptions. They said see youtube video, however no link was provided and i wasnt able to find a video for this specific screen. They put a big sticker with warning info on screens inside and it was a hassle to remove it. There were some blue tapes on inside of screen and wasnt sure if i have to remove it or not. After putting everything back together and using heat gun to activate the adhesives, the screen still pops up a bit. So I need to use heavy case to not to expose the screen edges. At the end it works and it was cheap but could avoid some guessing and frustration if better instruction would be given.
-
Kimmy
> 3 dayScreen is durable, tools definitely came in handy, and with a little help from a youtube video, I now have a working iPad again!
-
patience obazuaye
> 3 dayProduct was fix and work for about a month and the home button become hard and unresponsive. Back to level 1.
-
docuome
> 3 dayAs described, excellent value.
-
Tim Peters
> 3 dayDigitizer is just the part I needed for my mini 2. Problem is that it has a dead zone and doesnt work at all where the p is on the keyboard in portrait mode. The screen itself is very rough to the touch, nothing like the original apple coating on their digitizer. Ill have to get a screen protector with a proper coating on it and hope the digitizer dead zone doesnt become a bigger problem. It came with a wet wipe to clean the digitizer and presumably the screen before you put it back together, but it was bone dry and useless.
-
Nur
Greater than one weekGreat product
-
Adolfo Mayor
Greater than one weekI bought for my son’s iPad, not a difficult task but I’ll recommend to heat it up with a hair dryer to take out the old one. I must say the tools set is perfect for the job. Thank you
-
Mandy Trosky
> 3 dayI have an iPad mini (the original one) so I didnt want to put a lot of money into replacing the screen when my child dropped it. I decided to try my hand at this as I am semi tech savy. I used almost all the tools in the kit-glad they sent more than not enough. The tools they used weren’t junk tools either. They were tools I’ll keep on hand in case I have other use for them. Additional tools -Heat gun (Other’s said a hair dryer would work but I had a heat gun so I used it) -Eye glasses cleaning rag/microfiber cloth -Alcohol wipes? (I didnt use them-but wished I had them) -3 small bowls/cups -Goo Gone Before purchasing I read a lot of reviews and how people had problems. Heres a few tips- -SLOW DOWN. Unless youre an expert this isnt an easy task so take your time. It took me 45-60 minutes -Be in a well lit area. I put a desk lamp over my work area to give myself extra light. -Watch tutorials several times-watch a few different ones. The best one I found was the iCracked one which I watched while doing this and it seemed to have the most details. The kit provides no directions so you are all on your own there. -Have 3 small bowls/cups to hold & separate the different screws from the different areas. -Clean off ALL the adhesive from the iPad. You might want to wipe down the area with alcohol so its completely clean. Be sure to let -Test it before putting the adhesive down. Some of this might sounds confusing but once you watch the video it will make sense. It was a pain for me to remove the screen but my screen was in pretty bad shape so I expected that. I forgot to clean off the inside of the screen before putting it on so theres some dust in it. My fault though. I also dont think I cleaned off all the adhesive well enough so it bottom area near the home button didnt stick down fully. Id suggest laying a heavy book on top of the screen overnight to ensure its secured. When I went back and cleaned it off I used Goo Gone and then wiped it down with alcohol. Nowhere did I see that suggested but it was easiest. UPDATE After about 24 hours of use it just stopped working. I could see the light under the LED screen turning on but the LED screen wouldn’t turn on. I took it apart and made sure the connections were secure and put it back together and still nothing. Frustrated-I left it alone for a few days. When I took it apart again I disconnected the screen and battery connections and reconnected them. Once placing it back together it worked perfect! By this time the adhesive on the inside of the screen has dried out so I’m cleaning that all out and have ordered adhesive replacement ($5). The adhesive problem is by no means the products fault-but I want to be completely transparent about my experience here. Overall I am very satisfied with the experience and if there’s a problem again I would fix it myself. The reason I only gave it 4 stars was the lack of instructions.
-
Leeza Darrow
> 3 dayIt worked fine for the first 10 mins and then completely started glitching. The touch is way off and would ghost touch terribly. So incredibly irritating. I read all the great reviews and thought Id found a good deal. Installation went fine, but the product is no good. I dont believe this product can even be returned! Now I just have an iPad that I cant use! I never leave reviews, I am just that displeased with this product.
-
Claudine Gomes
> 3 dayThanks
